How to Change the Probe Tip
Diagnostic probe
Step 1: Unscrew the probe cap and remove the probe tip.
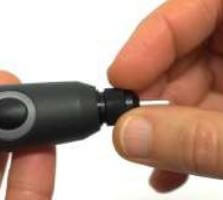
Step 2: Make sure there is a gasket in the clean probe tip.
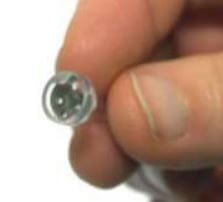
Step 3: Replace with the clean replacement tip.
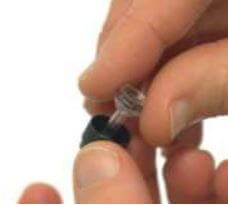
Step 4: Assemble the probe again.
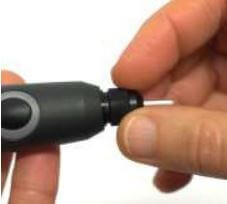
Clinical probe
Step 1: Unscrew the probe cap and remove the probe tip.
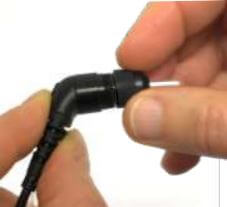
Step 2: Make sure there is a gasket in the clean probe tip.
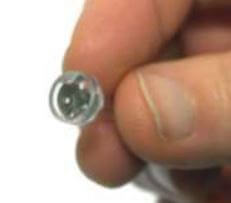
Step 3: Replace with the clean replacement tip.
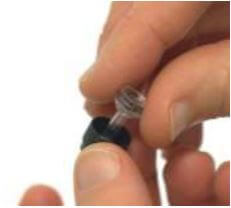
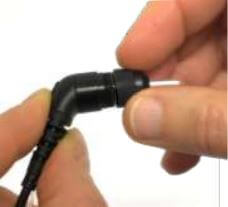
Step 4: Assemble the probe again.
Notice:
Clean the probe tip regularly
To avoid earwax clogging the tubes of the probe tip and affecting measurements with your
AT235/AA222, it is recommended to clean the probe tip regularly.
Complimentary probe tip enclosed
As Interacoustics acknowledges that clinicians often have a busy workday, please find a complimentary probe tip enclosed with your AT235/AA222.
Easily swap the probe tip
Easily swap the probe tip during the day, and clean it when the patients are out of the clinic.
Please follow the steps 1 to 4 when you remove the probe tip and replace it with a new, clean one.

